Festival of Archaeology 3D Modelling Workshop

24 July 2019
View the Project on GitHub JWexlerBM/festivalofarchaeology
This project is maintained by JWexlerBM
Building a dense cloud
Author: Jennifer ~ Published: 16 October 2018 ~ Updated: 23 July 2019
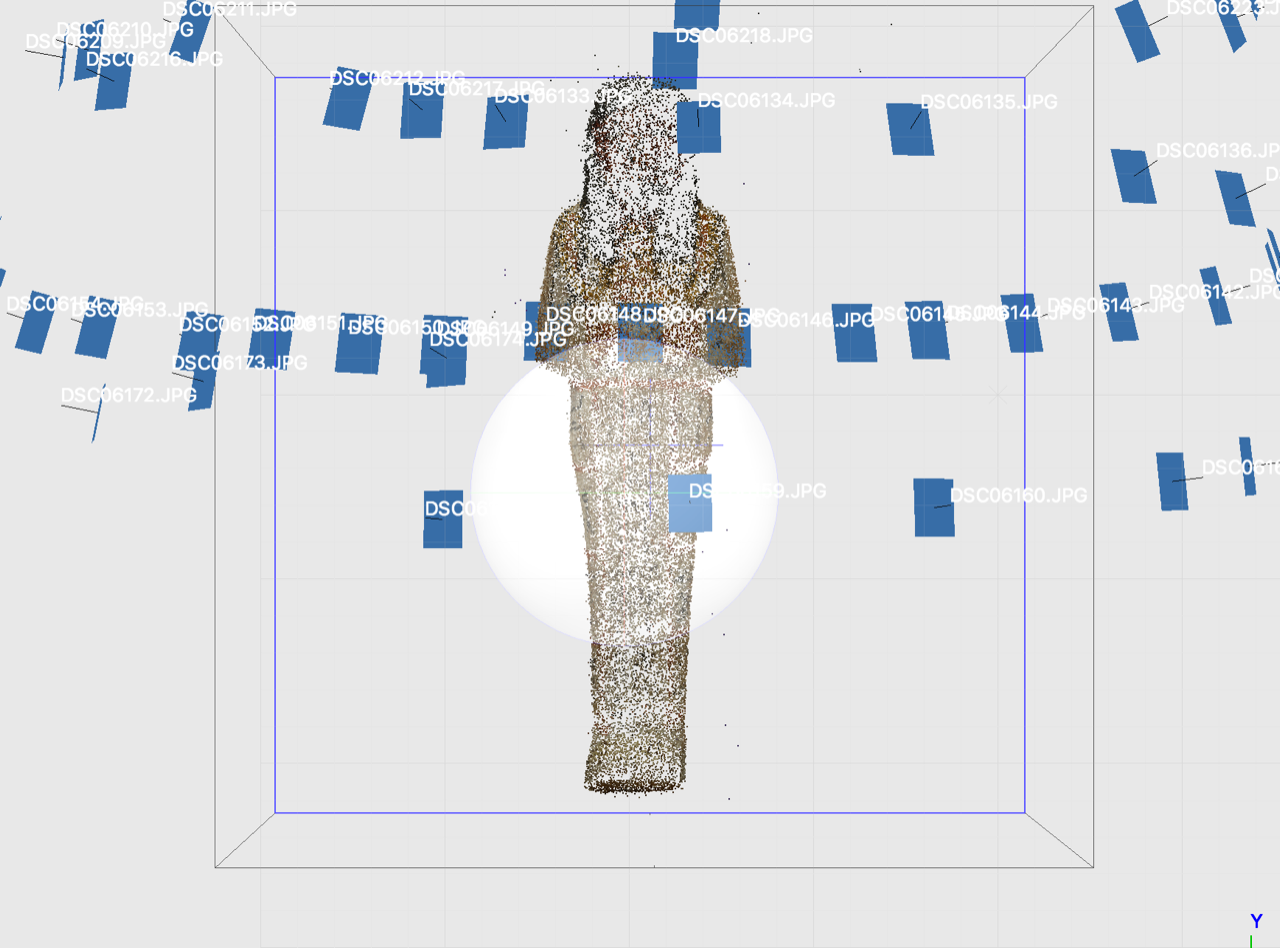
Once your alignment process has finished, you are now ready to create a dense cloud with far more data. This will enable the programme to create your 3D model. An example of aligned photos is shown below (this is for an Egyptian shabti of Ramose in the Fitzwilliam Museum).

Now follow these steps (you’re getting the hang of this now, workflow is your friend!)
- Press Workflow
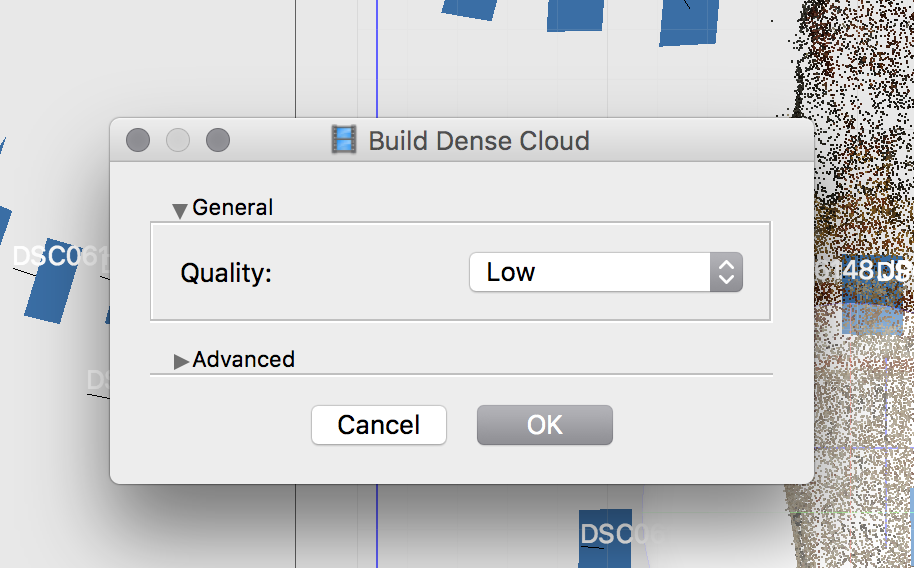
- Choose Build dense cloud
- Choose low in the options pane
- Press OK

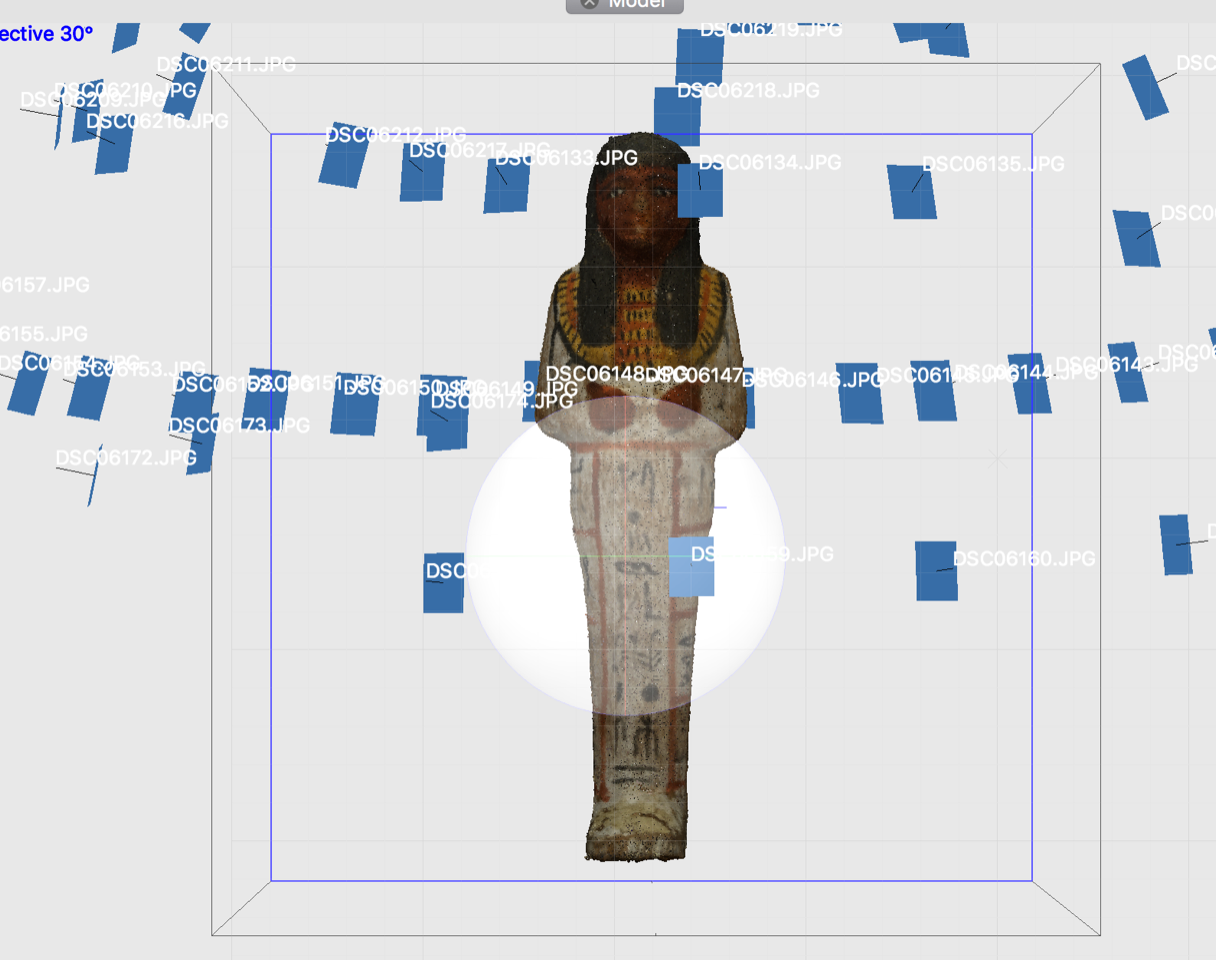
You will once again be presented with a count down timer. Take a note of this, make sure your machine is plugged in, be aware it may start making loud fan noises. Go for a walk and come back when time is up and you should see a more complete model appear like below.

You may see lots of background noise in your model, don’t worry, we can get rid of that!
Previous step: Aligning your photos Next step: Cleaning a dense cloud